SHOWER HEAD INSTALLATION
No Tools. No Plumber. Just Twist and Go.
Every SparkPod product installs by hand in under five minutes. Here's how.
0
Tools Required
5 Min
Install
1/2"
Universal Fit
STEP 1
Remove the Old Head
Grip and twist counterclockwise. If it's stuck, wrap a cloth around the nut and use pliers gently. Nothing else.
STEP 2
Wrap the Threads
Clean off old tape or residue. Wrap fresh plumber's tape clockwise, 3-4 times around. This is what keeps it leak-free.
STEP 3
Twist On Your SparkPod
Thread it on by hand until snug. Make sure the rubber washer is seated inside the connector. No wrench needed.

STEP 4
Turn On. Check. Done.
Run the water. If you see a drip at the connection, give it another quarter turn. That's your shower, upgraded.
Product Specific Notes
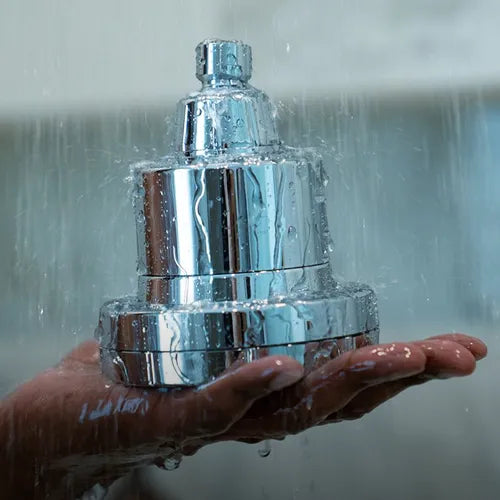
Filtered Shower Heads
- Follow the four steps above.
- Before your first shower, run water for 30 seconds to flush the filter.
- Make sure the cartridge is seated in the housing and check for leaks at both connection points.
Handheld Shower Heads
- Attach hose to the arm, head to the hose. Hand-tighten both.
- Mount the bracket with the included adhesive pad on a clean, dry surface.
- Let it set for 24 hours before hanging the head.
Shower Arm Extensions
- Remove your old shower head.
- Wrap Teflon tape around the arm threads.
- Attach the extension.
- Wrap Teflon tape around the extension threads.
- Attach your shower head.
- Follow the four steps above.
- Before your first shower, run water for 30 seconds to flush the filter.
- Make sure the cartridge is seated in the housing and check for leaks at both connection points.
- Attach hose to the arm, head to the hose. Hand-tighten both.
- Mount the bracket with the included adhesive pad on a clean, dry surface.
- Let it set for 24 hours before hanging the head.
- Remove your old shower head.
- Wrap Teflon tape around the arm threads.
- Attach the extension.
- Wrap Teflon tape around the extension threads.
- Attach your shower head.
Replacing Your Filter
Under a minute. No tools. Twist off the housing, swap the cartridge, twist it back on.
| How to Swap | |
|---|---|
| 1 | Twist the housing counterclockwise to open |
| 2 | Pull out the old cartridge, drop in the new one |
| 3 | Twist housing back on and run water for 30 seconds |
| When to Replace | |
|---|---|
| Juliet (KDF-55 + Calcium Sulfite) | 2-3 months |
| High Output Filter models | 3-4 months |
| Inline Shower Filters | 3-4 months |
Drop in pressure, chlorine smell coming back, or water feeling harder are signs it's time.
We've Got Answers.
Will this fit my shower?
Every SparkPod product uses a standard 1/2-inch connection. Fits virtually all shower arms in the US. No adapters needed.
Do I need any tools?
No. Everything installs by hand. Plumber's tape is included. If your old head is stuck, a cloth and pliers will get it off.
What if it leaks after I install it?
Another quarter turn usually does it. If not, remove the head, check the rubber washer, and re-wrap with fresh Teflon tape. It's almost always a tape or washer issue.
How do I know when to replace the filter?
Check the chart above for your filter type. You'll feel it, pressure drops, skin and hair stop feeling as good. Swap takes under a minute, no tools.
Do I need to remove the flow restrictor?
Up to you. SparkPod ships with a 1.8 GPM restrictor installed. Some products include a 2.5 GPM option in the box. Want more pressure? Swap it out or remove it entirely. It pulls straight out.